When I started sewing by hand, I quickly realized that I wanted something I could use to carry my sewing supplies, because I love that this is a portable craft, and portability is greatly enhanced when my tools and notions are gathered in a neat, grab-and-go package!
A small, roll-up pouch used to carry hand-sewing supplies has been known in English as a housewife (or various contractions of that word, such as huswif or hussif) since at least the middle of the eighteenth century. Women often had one handy, and they were also commonly used by sailors and soldiers. The Canadian Armed Forces have issued such sewing kits since at least the First World War, and, according to this source, they (thankfully!) stopped calling them housewives by the 1990s.
Studio Members are invited to join a sew-along for this project! If you aren’t a Studio Member yet, join today!
I’m not particularly fond of the housewife designation, and much prefer the French term for a sewing kit: nécessaire de couture. That name feels even more fitting now that the object it describes has become a necessary item in my life!
Whether you sew or not, you can certainly find a variety of uses for the roll-up pouch design I’m sharing with you today. Its size and configuration can easily be modified, so feel free to adjust it to best fit your needs. If, however, you want to use it as a nécessaire, and you’ve followed the bookbinding tutorial to make a vintage-style needle book published earlier in Digits & Threads, I’ve specifically designed its dimensions to ensure that your needle book fits in the pockets.
Materials, Tools, and Techniques:
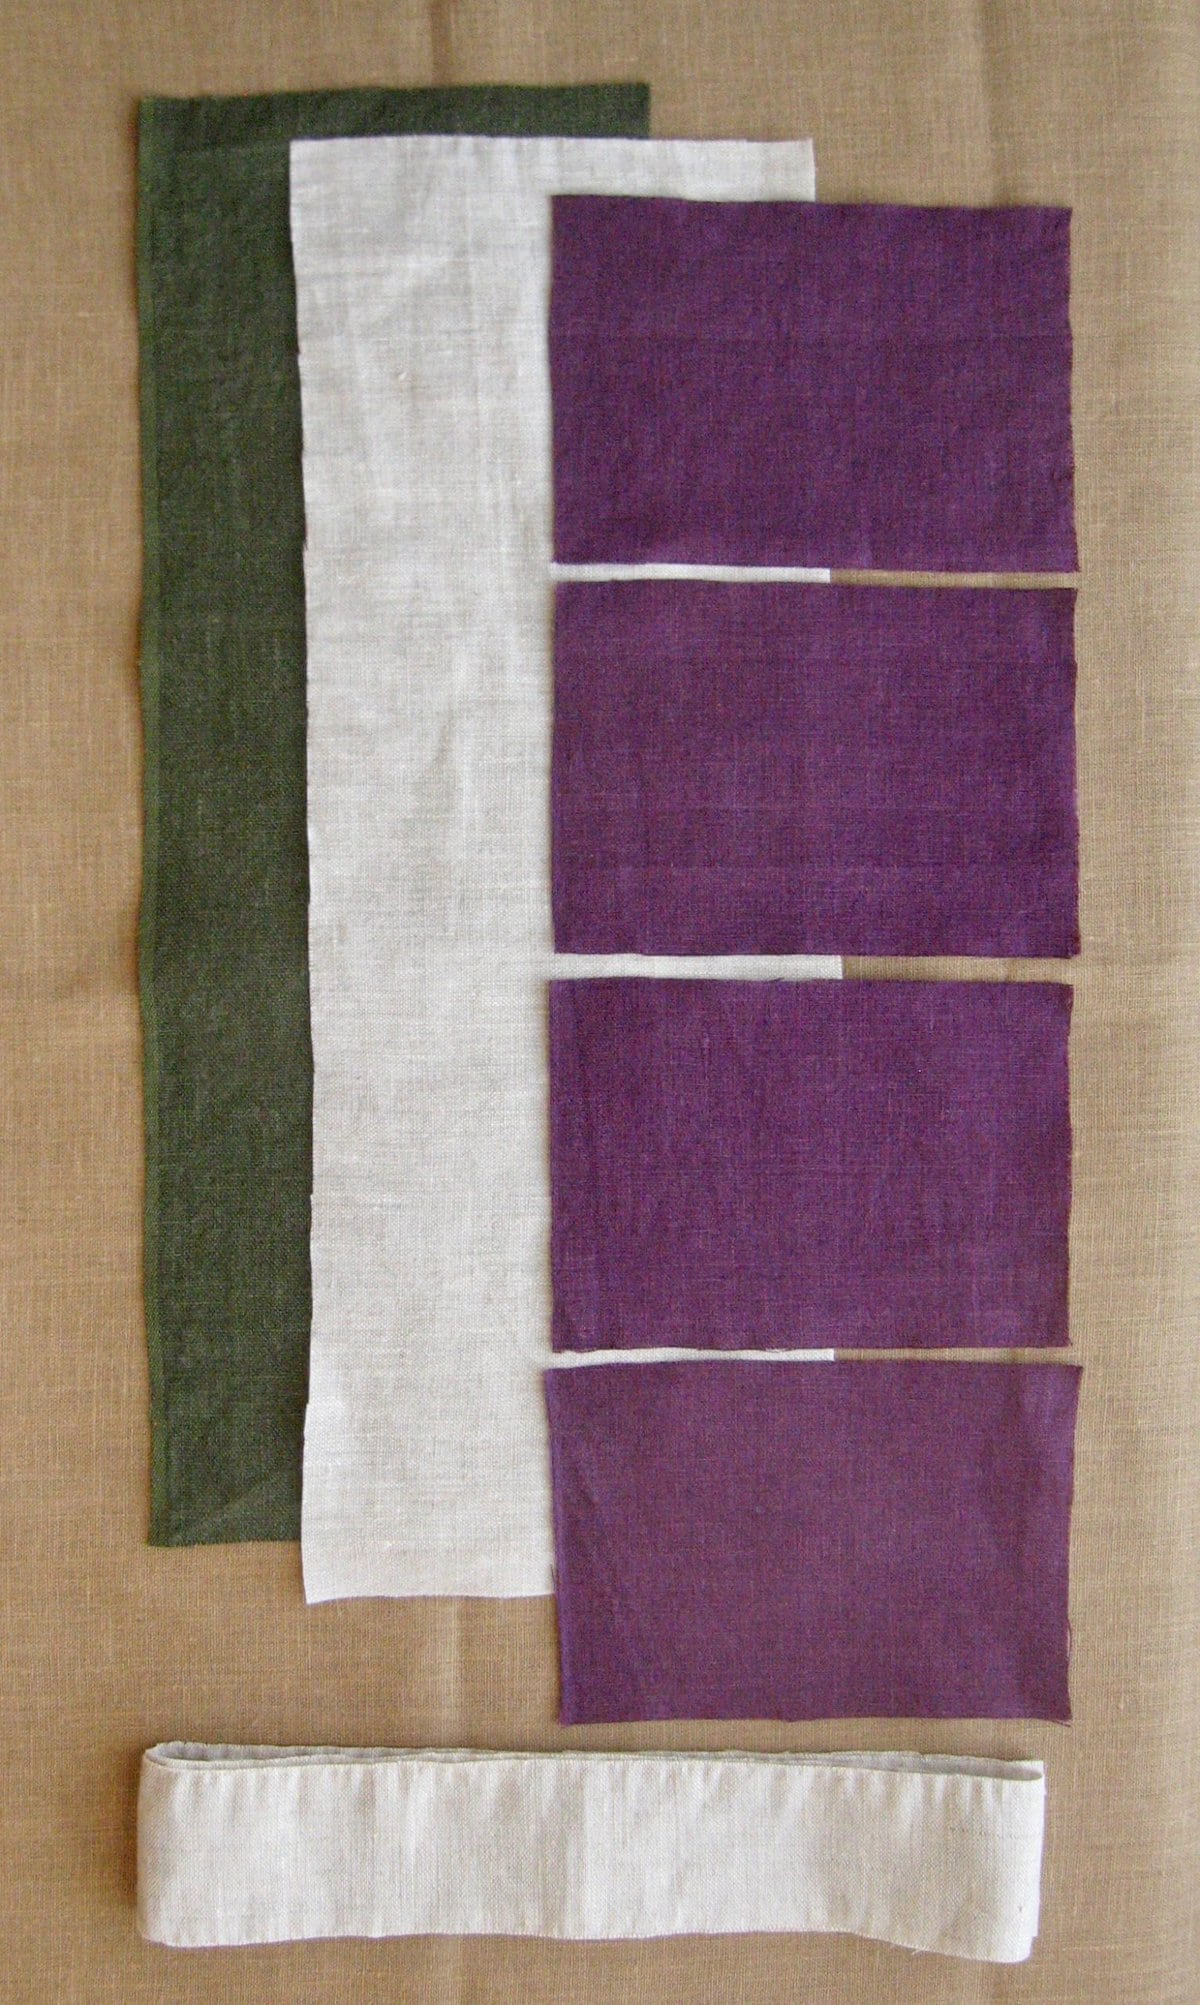
- Fabric: Woven fabric, 2 pieces measuring 40 × 14 cm/15.75 × 5.5 inches (one will be the outside fabric, and the other the lining), and 4 pieces measuring 10 × 14 cm/4 × 5.5 inches for the pockets. You could cut those pieces from the good parts of old sheets or worn-out clothes if you have any lying around, or from tea towels or pillowcases found at the thrift store. I recommend choosing fabrics made of natural fibres such as cotton or linen if you can. Avoid fabrics that are slippery or flimsy, as they can make sewing more challenging. A medium- to heavyweight fabric will make a sturdier pouch: denim, taken from mediumweight jeans (or well-worn heavier ones) would suit nicely for the outer layer. (Heavier denims are hard to sew through.) Densely-woven lighter weight fabrics (such as bed linens, or shirts) are fine for the lining and pockets, and even for the outer layer too, if that’s what you have available. I have used mediumweight linen remnants for the lining and pockets of my project, and a slightly heavier linen piece for the outer layer.
- Binding: About 150 cm/59 inches of a 5 cm/2-inch-wide strip of woven fabric, from which you will make double-fold binding following this tutorial. Since this project involves only straight edges and a few corners, bindings cut with the grain or on the bias will work equally well; I have cut mine on the grain, from the same mediumweight linen I have used for the lining. (Alternatively, you could buy about 150 cm/59 inches of ready-made 12.5 mm/0.5-inch-wide double-fold binding.)
- Sewing thread to match your fabric: Any type of sewing thread will do. On my project, I’m using natural, unbleached linen thread.
- Basting thread: It can be any colour as it will be removed before finishing the piece. On my project, I’m using red thread for basting.
- Needles appropriate to your choice of fabric and thread
- Thimble
- Scissors
- Measuring tools
- Pins
- Optional: Beeswax to treat your thread, and a third hand (both explained in this tutorial)
All stitches used in this project (shown in bold type) are demonstrated in this tutorial.

All photos by Josiane Richer dit Laflèche.


